Training
Squat Depth: How Low Should You Actually Go?
Learn proper squat depth for strength and muscle, how anatomy and mobility affect range, and when to stop above, at, or below parallel.
Waleed S.Oct 17, 202611 min read
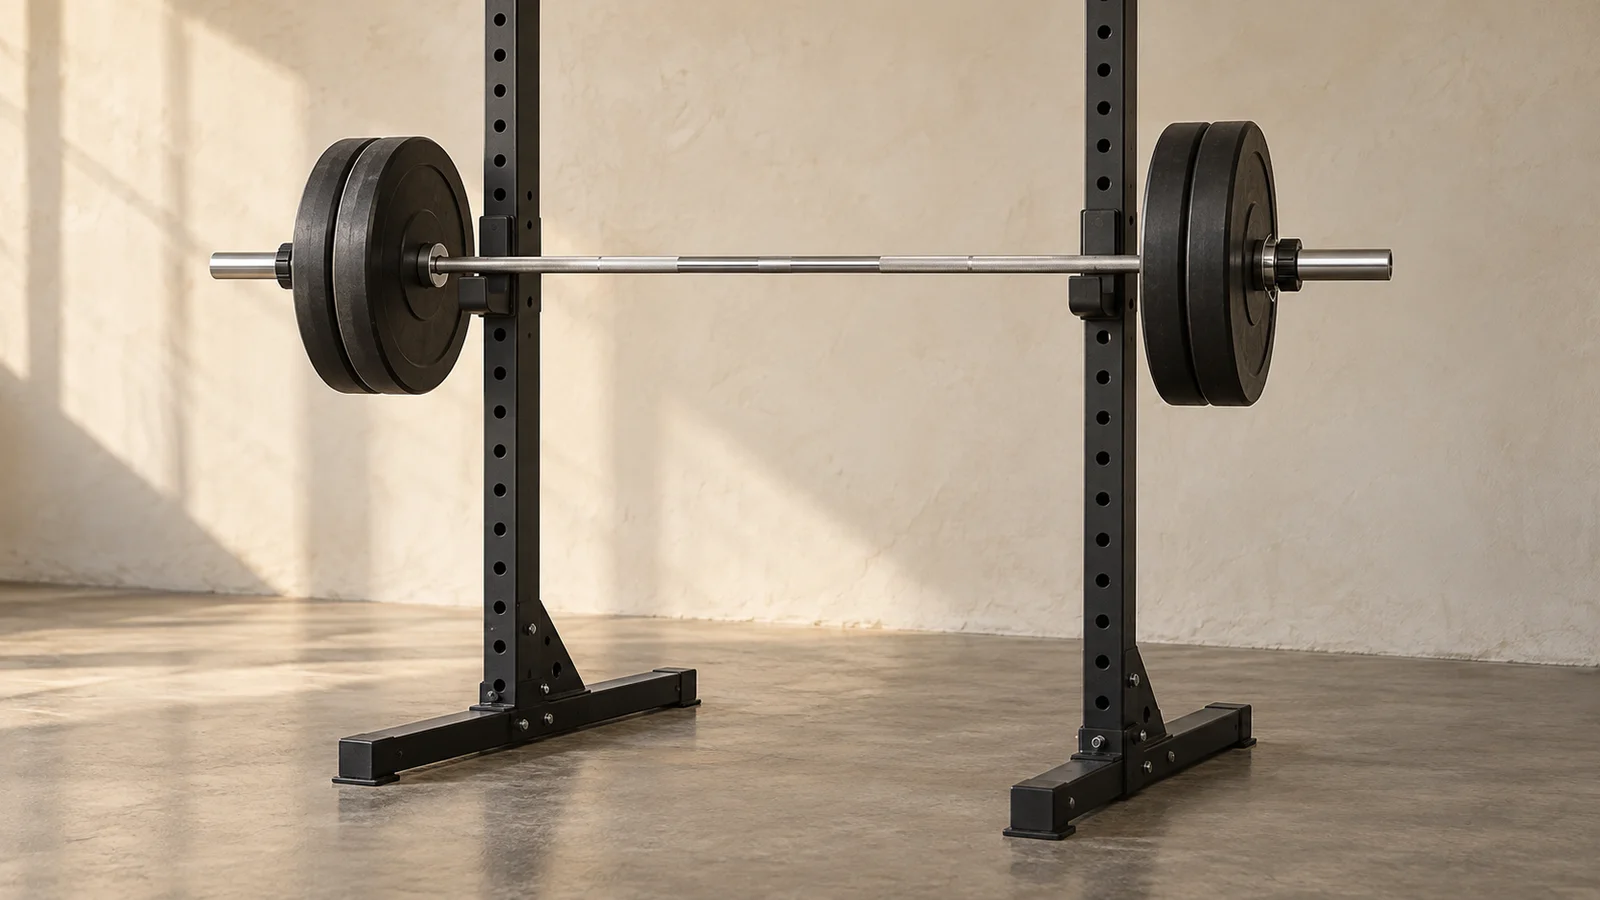
Learn proper squat depth for strength and muscle, how anatomy and mobility affect range, and when to stop above, at, or below parallel.
Proper squat depth is the deepest pain-free position you can repeat with stable feet, controlled knees and torso, and a consistent setup. For many lifters, that means around parallel or slightly below. You do not need to force your hips toward the floor to make every set count.
The useful question is whether your chosen depth lets you train the intended movement and measure progress. Here is how to find that depth, troubleshoot common limits, and keep it consistent as the weight increases.
This guide is educational. Stop a set that causes sharp or worsening pain. Seek qualified care for persistent symptoms, swelling, locking, or a recent injury rather than forcing more depth.
| Depth | Practical description | When it can make sense |
|---|---|---|
| Partial | Stop above thighs parallel to the floor | A deliberate training variation or a temporary range you can tolerate and control |
| Parallel | Thighs roughly level with the floor | A repeatable reference for general strength training |
| Below parallel or deep | Hips descend farther as knees and hips bend | Training a larger comfortable range or practicing a sport-specific requirement |
These are practical descriptions, not universal research definitions. Studies use different joint angles and landmarks. A knee bent to 90 degrees is also not necessarily the same as a thigh parallel to the floor.
For powerlifting, use your federation's rules. The IPF depth standard requires the top surface of the legs at the hip joint to go lower than the top of the knees. A casual “looks parallel” judgment may not meet that standard.
For general strength: work toward a comfortable, repeatable range around parallel or below. If you currently stop higher, start there with control and gradually explore more range. Keep the target clear so heavier sets do not quietly get shorter.
For muscle growth: a larger comfortable range is a sensible default. Deeper squats change the demands on the hips and knees, but depth alone does not determine results. Load, effort, exercise selection, and consistent training also matter. You do not need the deepest possible position on every rep.
For a tested squat: practice the variation and depth you will be judged on. Strength is specific to the task. A partial-squat record should not be treated as a full-depth record.
With an injury or pain limitation: use an individually tolerable range and follow your clinician's guidance. A restricted range can be a temporary training choice. It is not a diagnosis or a reason to force a painful position.
For setup, bracing, bar placement, and the complete movement, see the squat form guide.
Film three to five light reps from the side, with the camera around hip height and your full body visible. Place it far enough away to reduce perspective distortion. Use the same camera position when comparing sessions.
At your intended bottom position, check:
A useful depth passes all five checks at the load you are using. A comfortable bodyweight squat does not automatically establish your working depth under a heavy barbell.
Your proportions and available ankle and hip motion affect the position you can reach. Two people can both squat well while using different stance widths, knee travel, and torso angles. The 2024 biomechanical review by Straub and Powers explains how these variables interact; no single setup suits everyone.
| What you notice | Try first | Keep in mind |
|---|---|---|
| Heels lift near the bottom | Reduce load, check balance, then try stable heel elevation | Ankle motion can limit depth, but balance and setup also matter |
| You fall backward unloaded | Try a light goblet squat as a counterbalance | This changes balance; it does not prove a particular mobility diagnosis |
| Hips feel pinched | Stop short of the pinch; try a modest stance or toe-angle adjustment | Do not force hip range through pain |
| Chest drops as weight increases | Reduce load and practice controlled reps | Some forward lean is normal, especially with different proportions or bar positions |
| Pelvis tucks abruptly at the bottom | Stop slightly higher and reassess load and stance | Small pelvic movement alone is not an injury diagnosis |
Change one variable at a time. Start with a comfortable stance around shoulder width and toes slightly turned out, then make small adjustments. A box can provide a repeatable depth reference: touch it lightly without dropping, rocking, or relaxing onto it.
If heel elevation helps, use stable weightlifting shoes or a purpose-built squat wedge. Avoid loose stacks or unstable supports. Keep that setup consistent when comparing workouts.
Download a one-page checklist with filming tips, five rep-quality checks, and practical fixes for common depth limits.
By submitting, you’ll receive the squat depth checklist and occasional Bazu emails. Unsubscribe anytime.
This site is protected by reCAPTCHA and the Google Privacy Policy and Terms of Service apply. See our Privacy Policy for details on how Bazu handles submissions.
Deep squats are not inherently harmful to healthy knees. A 2024 scoping review of 15 studies generally supported their use with appropriate technique and loading. However, many studies were short, methods varied, and several had substantial risk of bias. That supports a measured approach rather than a promise that any depth or load is safe for everyone.
Joint forces change as you squat deeper. Force is not the same thing as injury: your training history, symptoms, load, volume, and rate of progression affect how you tolerate an exercise. The Hartmann review also challenges the idea that simply stopping higher guarantees less risk, particularly when much heavier loads are used.
Your knees can pass your toes. Forward knee travel helps many lifters stay balanced and reach depth, especially with an upright torso. Forcing vertical shins changes the movement and shifts demands elsewhere. Let the knees move while keeping the whole foot supported and the rep controlled.
Use this as a practice framework, not a deadline:
For the first week, keep the load light and record your setup. In the second week, repeat it and change only one thing if needed. There is no requirement to reach below parallel in two weeks; progress depends on the limitation you are working with.
Once depth is consistent, use progressive overload to add reps or weight gradually. If you also use a one-rep max estimate, compare sets performed with the same variation and range.
Record the squat variation, load, reps, and a short setup note. For example:
High-bar squat: 60 kg, 3 × 8. Lifting shoes, same stance, just below parallel. Last two reps slow; depth unchanged.
If your next session is 65 kg for eight reps but every rep stops well above parallel, the number alone does not show improvement at the original task. Keep deliberately different variations separate, such as a box squat and a full-range back squat. When changing depth within the same exercise, note the change and establish a new baseline.
Bazu Free lets you log weights and reps, add set notes, and review workout history, charts, estimated 1RM, and PRs on iPhone or Android. Use a consistent depth cue in your notes and check occasional videos yourself. Bazu does not automatically measure squat depth or assess technique.
For load conventions and consistent entries, use the workout weight and rep logging guide.
For general training, use the deepest pain-free depth you can repeat with stable feet and controlled knees and torso. Around parallel or slightly below is a useful starting target when you can reach it comfortably. Your goal, anatomy, squat variation, and current ability affect the right depth.
Parallel can be a useful training depth. Going deeper may suit your goals and mobility, but forcing extra range is unnecessary if you lose control or develop pain. Powerlifting competition standards usually require the hip joint area to descend below the top of the knee.
Below-parallel squats are not inherently harmful to healthy knees. Research generally supports deep squatting with appropriate technique and loading, although long-term injury evidence is limited. Previous injury, symptoms, training volume, and how quickly you increase the load still matter.
They can. Forward knee travel is a normal part of many squat variations, especially with a more upright torso. Keep your whole foot supported and let your knees follow the direction of your toes rather than forcing your shins to stay vertical.
Reduce the load and check your balance, stance, and ankle movement. Try a light goblet squat or stable lifting shoes or a squat wedge. Use a depth where your feet remain supported, and avoid loose stacks of plates or unstable objects under your heels.
A small pelvic movement alone does not diagnose an injury or prove your squat is unsafe. If the tuck is abrupt, your lower back visibly rounds, you lose your brace, or you feel pain, reduce depth or load and reassess your setup. Get qualified help for persistent symptoms.
Log the same squat variation, weight, and reps in Bazu, then add a set note describing your depth target, box height, or heel elevation. Compare sessions with the same setup. Bazu Free includes workout history, charts, and PRs; it does not automatically measure your squat depth.
Get Bazu for iPhone or Android to keep those squat sessions together.
Find a comfortable, controlled range, make the target repeatable, and keep it steady as the weight increases. A consistent squat gives you useful feedback about strength, technique, and what to change next session.

Founder of Bazu · 10+ years strength training
I'm the builder and user of Bazu. I've been lifting for over 10 years across strength and hypertrophy work, and I built Bazu to make progress simpler for serious lifters — every feature is designed around how real training actually works.
Continue with a relevant calculator, exercise guide, or Bazu feature.
Estimate your 1RM and percentage-based training loads from a hard set.
ExploreExerciseBrowse proper form, muscles worked, mistakes, and progression advice.
ExploreProduct updateSee how Bazu keeps every personal record tied to your training history.
ExploreProductSee how logging, permanent PRs, charts, and workout history fit together.
ExploreUse Bazu Free to log the exact squat variation, load, reps, and notes, then compare workout history, charts, estimated 1RM, and PRs without mixing different depths.


Join for practical strength tips, cleaner logging workflows, and Bazu updates that help you know what to do next workout.
This site is protected by reCAPTCHA and the Google Privacy Policy and Terms of Service apply. See our Privacy Policy for details on how Bazu handles submissions.

Follow a four-day, 30-minute gym workout for busy professionals, with exact exercises, supersets, rest times, substitutions, and progression.

Follow a complete 3-day full-body workout for beginners with exercises, sets, reps, rest times, substitutions, progression, and an 8-week tracker.
Find the best bench press alternatives for chest growth and strength. Compare dumbbells, push-ups, machines, floor presses, cables, and more.
Compare full-body and split workouts by muscle growth, strength, schedule, recovery, and missed sessions—then choose the routine you can progress.
Follow a complete three-day push pull legs routine with exercises, sets, reps, rest times, substitutions, and a simple progression plan for muscle growth.
Use this balanced 4-day upper/lower split to train each major muscle group twice per week, with exercises, sets, reps, rest times, and progression rules.